Setting up Local Administrator Password Solution (LAPS) in Microsoft Intune is a crucial step in enhancing the security and manageability of your devices. LAPS ensures that local administrator accounts on your devices are well-protected and can be managed effectively. In this guide, we’ll walk you through the process of configuring and using LAPS with Microsoft Intune for better remote help desk support and device recovery.
1. Enable LAPS in Microsoft Intune:
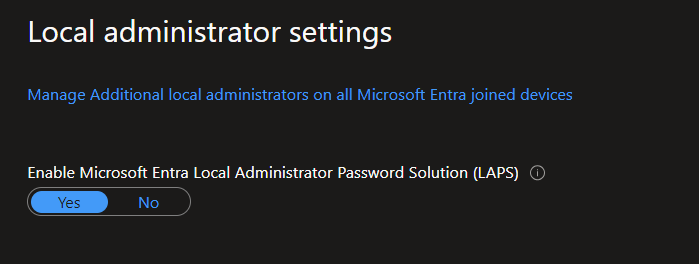
Begin by signing in to the Microsoft Intune admin center. In the admin center, navigate to Azure Active Directory > Devices, select “All Devices,” and then click on “Device settings.” Scroll down to the “Local administrator settings” and choose the option to “Enable Azure AD Local Administrator Solution (LAPS).” Don’t forget to hit ‘Save’ to apply the changes.
2. Intune LAPS Policy Configuration:
The Intune LAPS policy allows you to manage the local administrator accounts on your devices, although it supports only one account per device. To get started, access the Microsoft Intune Admin Center and go to “Endpoint security” > “Account protection.” Here, you can create a new policy for LAPS.
- Select the platform (Windows 10 or later).
- Choose the “Local admin password solution (Windows LAPS)” profile.
- Click “Create.”
3. Create Local Administrator Password Solution Profile:
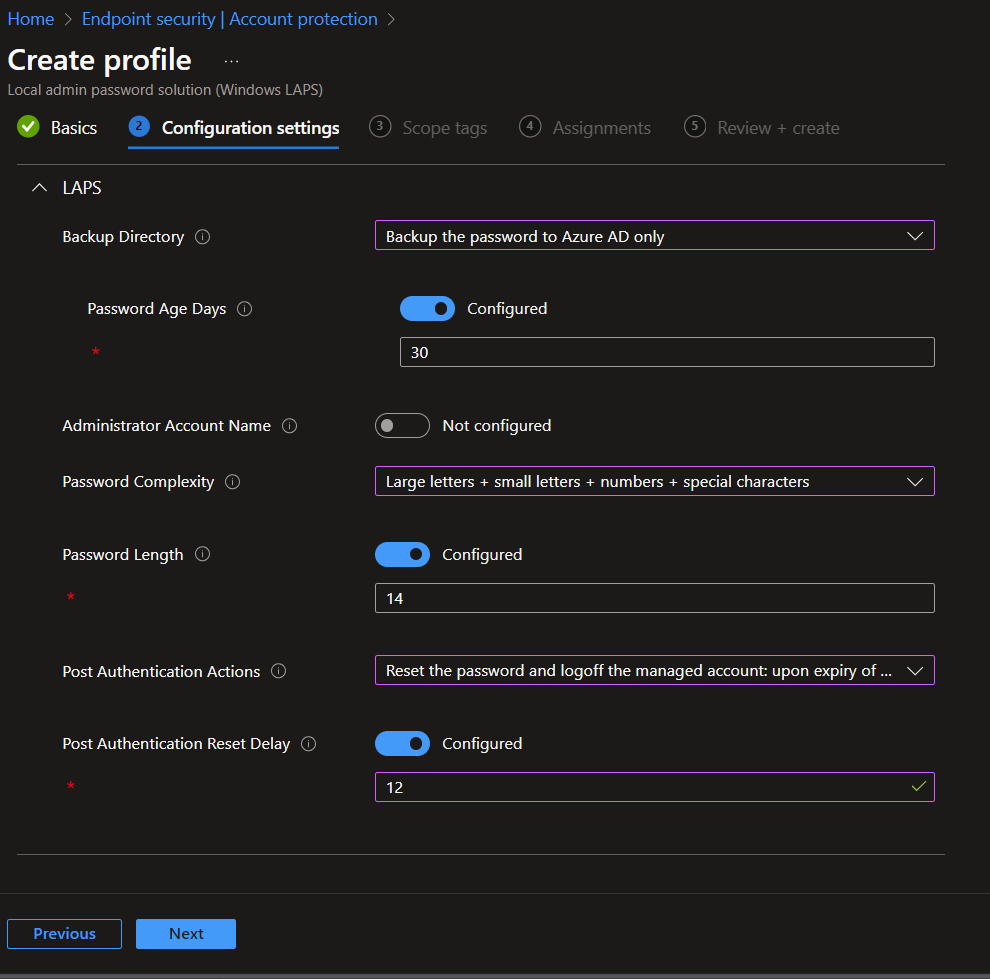
On the “Basics” tab, provide a suitable name for the policy. Then, select the configuration settings that align with your organization’s requirements. Here are the key settings you can configure:
- Backup Directory: Choose where the local admin account password is backed up. Options include Disabled, Azure AD, Active Directory, or Not configured.
- Password Age Days: Set the maximum password age for the managed local administrator account.
- Administrator Account Name: Configure the name of the managed local administrator account.
- Password Complexity: Define the password complexity for the account.
- Password Length: Set the length of the password for the local administrator account.
- Post Authentication Actions: Specify what should happen after the grace period expires.
- Post-Authentication Reset Delay: Set the time delay for post-authentication actions.
4. Assign the Policy:
Once you’ve configured the policy, you need to assign it to the desired users, groups, or devices. Assigning the LAPS policy to device groups is recommended as policies assigned to user groups can lead to inconsistent behavior.
5. Review and Create:
Review your settings in the “Review + Create” section and then select “Create.” Your changes will be saved, and the LAPS profile will be assigned. You’ll be able to see the policy in the policy list.
View Passwords using Azure AD and Intune:
To retrieve the login password for a device, you have two options – Azure AD and Microsoft Intune:
Using Azure AD: Helpdesk admins can view rotated passwords in the Azure AD under “Devices” > “Local administrator password recovery.”
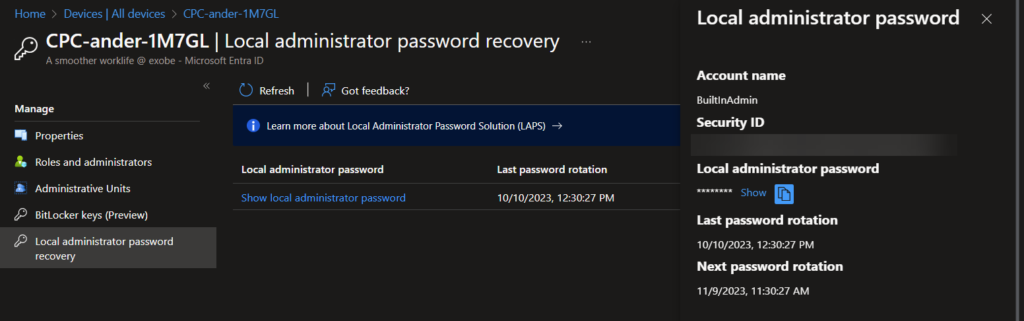
Using Microsoft Intune: Locate the specific device within Intune, click on “Local admin password,” and choose “Show local administrator password” to retrieve the current password for administrative access.
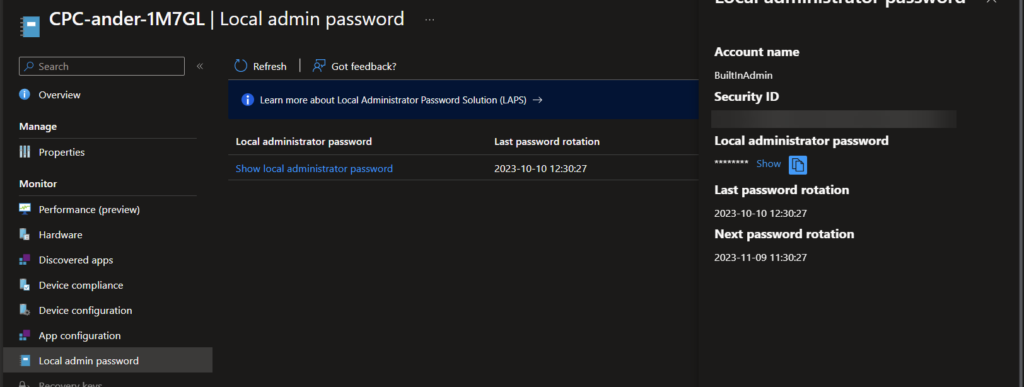
Additionally, LAPS policy has a predefined schedule for password rotation based on the “Password Age Days” setting. If needed, you can manually rotate the password for a device using the “Rotate local admin password” option in Intune. This provides flexibility for independent password changes on the device.
By implementing LAPS with Microsoft Intune, you can significantly enhance the security and manageability of your devices, making remote help desk support and device recovery more efficient.